With the release of Premiere Pro version 24.5, Adobe has introduced the ability to add custom watermarks to proxy files during the automated transcode process. Given this new feature, we thought it was the perfect time to gather all the essential information about proxy workflows in Adobe Premiere Pro into one comprehensive blog post.
What are proxies and when should you use them?
A proxy workflow, or offline editing, involves creating lower-resolution versions of your original footage—known as proxies—for the editing process. Since proxies are smaller and use more efficient codecs, they provide smoother playback and faster editing experience, especially when working with complex timelines, applying effects, or scrubbing the timeline.
Once editing is complete, you can easily relink the sequence to the original high-resolution files for color grading and final export.
Using proxy files for remote editing can save editors local storage space, as proxies are much smaller in size compared to the original footage. This reduces upload and download times when sharing footage over the internet. Additionally, because proxies require less processing power, editors can work effectively on less powerful machines while still producing high-quality final exports.
Today, leading NLEs like Adobe Premiere Pro, Avid Media Composer, and DaVinci Resolve all offer user-friendly offline workflows. These tools create proxy files from the imported media and facilitate easy relinking to the original footage once editing is complete.
Adobe Premiere Pro Proxy Workflow
To enable proxy workflow in Premiere Pro, start by opening the Media Browser and checking the Ingest box. This will automatically open the Project Settings dialog. Alternatively, you can access Project Settings by clicking the wrench icon next to the Ingest checkbox. Under the Ingest Settings tab, you’ll have the option to choose from four different operations that will automatically run when files are imported.


- Copy – The footage imported into Premiere Pro will simply be copied to the location set in the Primary Location. This obviously can’t be considered a proxy workflow.
- Transcode – The imported footage is transcoded to a specified format using Adobe Media Encoder and saved in the Primary Location path. Once transcoding is complete, the project clips are automatically linked to the newly transcoded media. This feature is designed not for proxy workflows, but for footage recorded with codecs that are less ideal for smooth editing workflows.
- Create Proxies – When you import footage into Premiere Pro, Adobe Media Encoder will automatically launch to transcode the clips into a specific format, saving them in the designated Proxy Location path. In the Preset menu, you’ll find default proxy options like H.264, ProRes, CineForm, and DNxHR. To use custom presets, simply click the Add Ingest Preset button. Presets can be easily created and exported in either the Export window or within Media Encoder.We advise against using the H.264 codec for proxies, as its Long GOP structure isn’t ideal for editing. Instead, opt for ProRes, CineForm, or DNxHR, which provide visually lossless results and significantly improve playback performance due to their intraframe structure. Once proxies are generated, they’ll automatically attach to the clips in your project.
- Copy and Create Proxies – When footage is imported into Premiere Pro, it is first copied to the Primary Location. Then, proxies are generated by Media Encoder and saved to the designated Proxy Location.
Regardless of the settings chosen, users can continue editing while the transcoding process runs in the background, ensuring a smooth and uninterrupted workflow.
Adding a Watermark to Proxies
Starting with version 24.5, Premiere Pro now offers the ability to automatically add a custom watermark to proxy files, making it easier to protect your content and prevent unauthorized sharing. In the Project Settings window, under the Proxy Watermark dropdown menu, you can choose whether to apply a watermark. Users can opt for the default proxy icon or upload their own custom watermark. The watermark will appear in the lower-left corner of the proxy clip. Alternatively, custom watermarks can also be added through the proxy profile settings in Media Encoder.


Using Proxies in Premiere Pro
The proxy status for each imported clip is visible in the Project window’s Proxy column. If this column is not showing, right-click any column header, open the Metadata Display menu, and enable the Proxy column.
To switch between high-resolution and proxy playback, use the Toggle Proxies button. If this button is missing from the toolbar, you can add it via the Button Editor (the „+“ symbol) in the source or program monitor. You can also check the timeline to see if a clip has an attached proxy and whether it’s currently being displayed.


Exporting Proxies
The idea of proxy workflows is to aid in the process of editing while still allowing for a full resolution export. For this reason, proxies are ignored while exporting by default. However, Premiere Pro does offer the option to use proxies for exporting. To do this, go to the General tab in the Export window and check the Use Proxies option. This can be useful if faster export times are a priority over the final clip’s quality, or if high-quality lossless proxies were used during editing.


Reusing Media Library Proxies
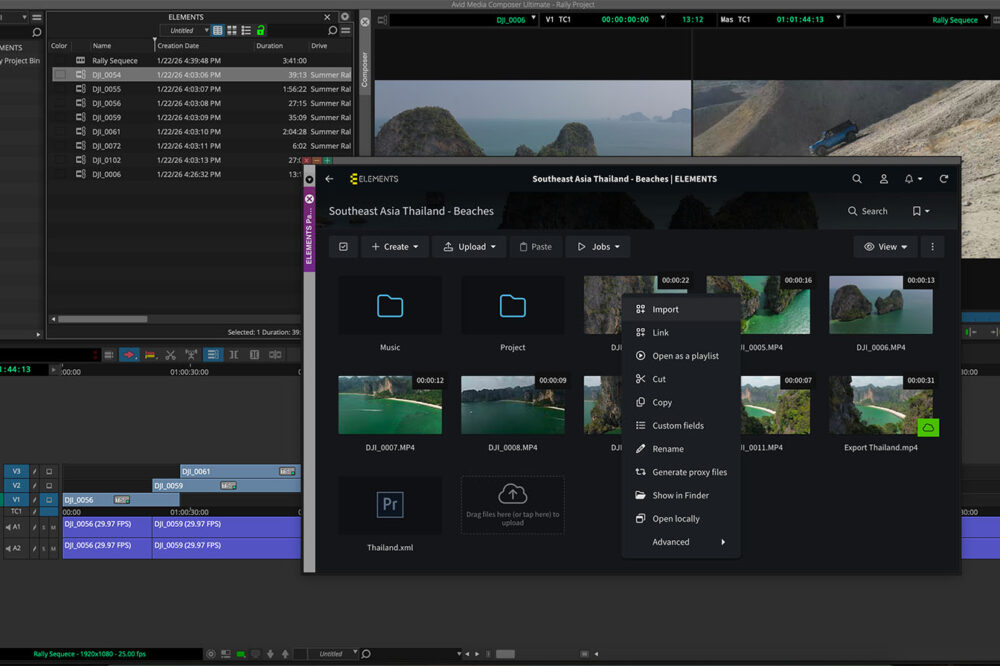
The Media Library is our comprehensive Media Asset Management (MAM) solution designed to streamline your post-production workflows. It provides a unified view of all your content, whether it’s stored on your servers or in the cloud, and offers a suite of tools and features to support your projects. You can easily share footage with anyone inside or outside your organization, add comments and metadata, assign tasks, create editing timelines using the integrated Rough-Cut Editor, and more.

Our panel integration allows you to access the Media Library directly from Premiere Pro and DaVinci Resolve. When importing footage through the panel, all comments, markers, and subclips created in the Media Library are automatically imported, saving time and enhancing team communication. The panel also accelerates your offline editing process by allowing you to reuse proxy files generated by the Media Library.


With a single click, you can download proxies for all footage in the project or just the footage used in a sequence. This feature eliminates the need to create proxies within Premiere or Resolve, and once editing is complete, you can easily relink the media to the original high-resolution files.
Find out more about our integration with Adobe Premiere Pro, Avid Media Composer and DaVinci Resolve.