With its extremely competitive price point, valuable features and great flexibility, DaVinci Resolve’s rise in popularity over the past few years has been staggering. No matter what function you may require, Resolve always seems to have you covered. However, just like with any other application, it is constrained by the capabilities of the machine it is running on. Below is a rundown of tips and tricks you can try out if you ever find Resolve is behaving in a less than perfect manner.

1. Proxy Mode
Start out by checking if the Proxy mode is turned on. The somewhat misleadingly named Proxy mode actually has nothing to do with proxy files or offline editing. This function simply allows the user to downscale the resolution of the played clip in real time. Simply navigate to Playback > Timeline Proxy Mode and choose the desired setting. The playback can be scaled down to half resolution, quarter resolution or turned off.
2. Performance Mode and Playback Settings
The Performance Mode feature and Playback settings can be found in the User section of the Preferences menu (DaVinci Resolve > Preferences > Users > Playback Settings). These settings determine how the image is sized, decoded and processed and can therefore have an impact on the playback performance. Make sure the automatic setting is selected. The details of the Performance mode settings are described in the DaVinci Resolve 18 Reference Manual:
Set to Automatic, Performance mode automatically optimizes a variety of operations in a bid to balance performance with the necessary level of image quality, for fast onscreen performance while always maintaining the highest level of quality for video output.
The manual mode offers control over the following three parameters:
- Optimized Sizing: Relates to how image resizing is handled.
- Optimized Decode Quality: Relates to how clip resolution vs. timeline resolution is handled.
- Optimized Image Processing: Relates to how image processing operations are handled.
The Playback Settings menu provides two more functions that can improve the playback performance but are turned off by default:
- Hide UI overlays: When enabled, onscreen controls such as the cursor, Power Window outlines, and split-screen views are disabled and hidden during playback. When playback is paused, all onscreen controls reappear.
- Minimize interface updates during playback: When enabled, user-interface updates are reduced.
3. Timeline Rendering
Not every element in the timeline is equally demanding to playback. As a matter of fact, effects and titles can introduce stuttering to the playback or even grind it down to a complete halt. In order to allow for a smooth playback of these clips and elements, Resolve offers the render feature. If rendering is turned on, render status bars in either blue (clip has been rendered) or the red (clip hasn’t yet been rendered) will be displayed above the clip.

The user has the ability to choose between three different render modes in the Render cache menu (Playback > Render cache):
- None: Disables rendering and the render status bars.
- Smart: If the “Render Cache Fusion Output” function hasn’t been disabled for the clip in the timeline (Clip > Render Cache Fusion Output > Off), then three types of elements are rendered: Playback intensive clips (H.264, H.265, DCP, JPEG2K and camera raw clips), Speed effects and Fusion Clips or clips with Fusion Effects applied to them. This is the recommended cache mode.
- User: Clips with “Render Cache Fusion Output” set to On are cached, while clips set to Auto are ignored, except for clips with Fusion Effects, which are automatically cached in Auto mode when the “Automatically cache Fusion Effects in User Mode” Project Setting is on.
Render Cache settings can be found in Project Settings > Master Settings > Optimized Media and Render Cache. In the Working Folders section of the same menu, the cache files saving location can be set. Make sure to choose a folder on the fast tier storage.
4. Optimized Media
Up until Resolve 17, optimized media has been the way to realize proxy workflows, otherwise known as offline workflows. And while this somewhat different approach to the task, compared to its competitors, worked quite well, it has also had a number of drawbacks. One of these is that the optimized media is often quite large in size compared to a proxy file with similar picture quality. The other drawback is that the created optimized media can only be used in projects in the same database.
Optimized media can simply be created by right-clicking the selected clips in the bin or in the timeline and clicking “Generate Optimized Media”. If the you wish to use it in your editing process, simply check “Use Optimized Media if Available” in the Playback menu. Exporting a sequence that uses optimized media will export it in full resolution unless “Use optimized media” is enabled in the Advanced Settings of the export window.
Settings for the resolution and media format can be found in Project Settings > Master Settings > Optimized Media and Render Cache. It is recommended to use DNxHR SQ codec on a Windows client or ProRes 422 LT on a Mac. Optimized media files are stored in the Render Cache location (Project Settings > Master Settings > Working Folders). Make sure to select a location on the fast tier storage.

5. Proxy Media
Due to the disadvantages associated with optimized media workflows, Resolve 17 has introduced proxy workflows. Proxy files can be created externally or directly in Resolve and can even be shared across projects in different databases. This feature makes it possible to send proxy files to the editors over the internet – a workflow that has only gained in popularity since the pandemic.
A right-click on the selected clips in the bin gives the user the option to link existing proxy files or create them in DaVinci Resolve. If the you wish to use the proxies in your editing process, simply check “Use Optimized Media if Available” in the Playback menu after they have been created. Unchecking this field will relink the clips to the high-resolution footage. Exporting a sequence that is currently connected to the proxy files will export it in full resolution unless “Use proxy media” is enabled in the Advanced Settings of the export window.
Settings for the resolution and media format can be found in Project Settings > Master Settings > Optimized Media and Render Cache. It is recommended to use DNxHR SQ codec on a Windows client or ProRes 422 LT on a Mac. Proxy files can be stored in any location available to Resolve. For proxy files created by Resolve, the proxy generation location can be set in Project Settings > Master Settings > Working Folders. Make sure to select a location on the fast tier storage.
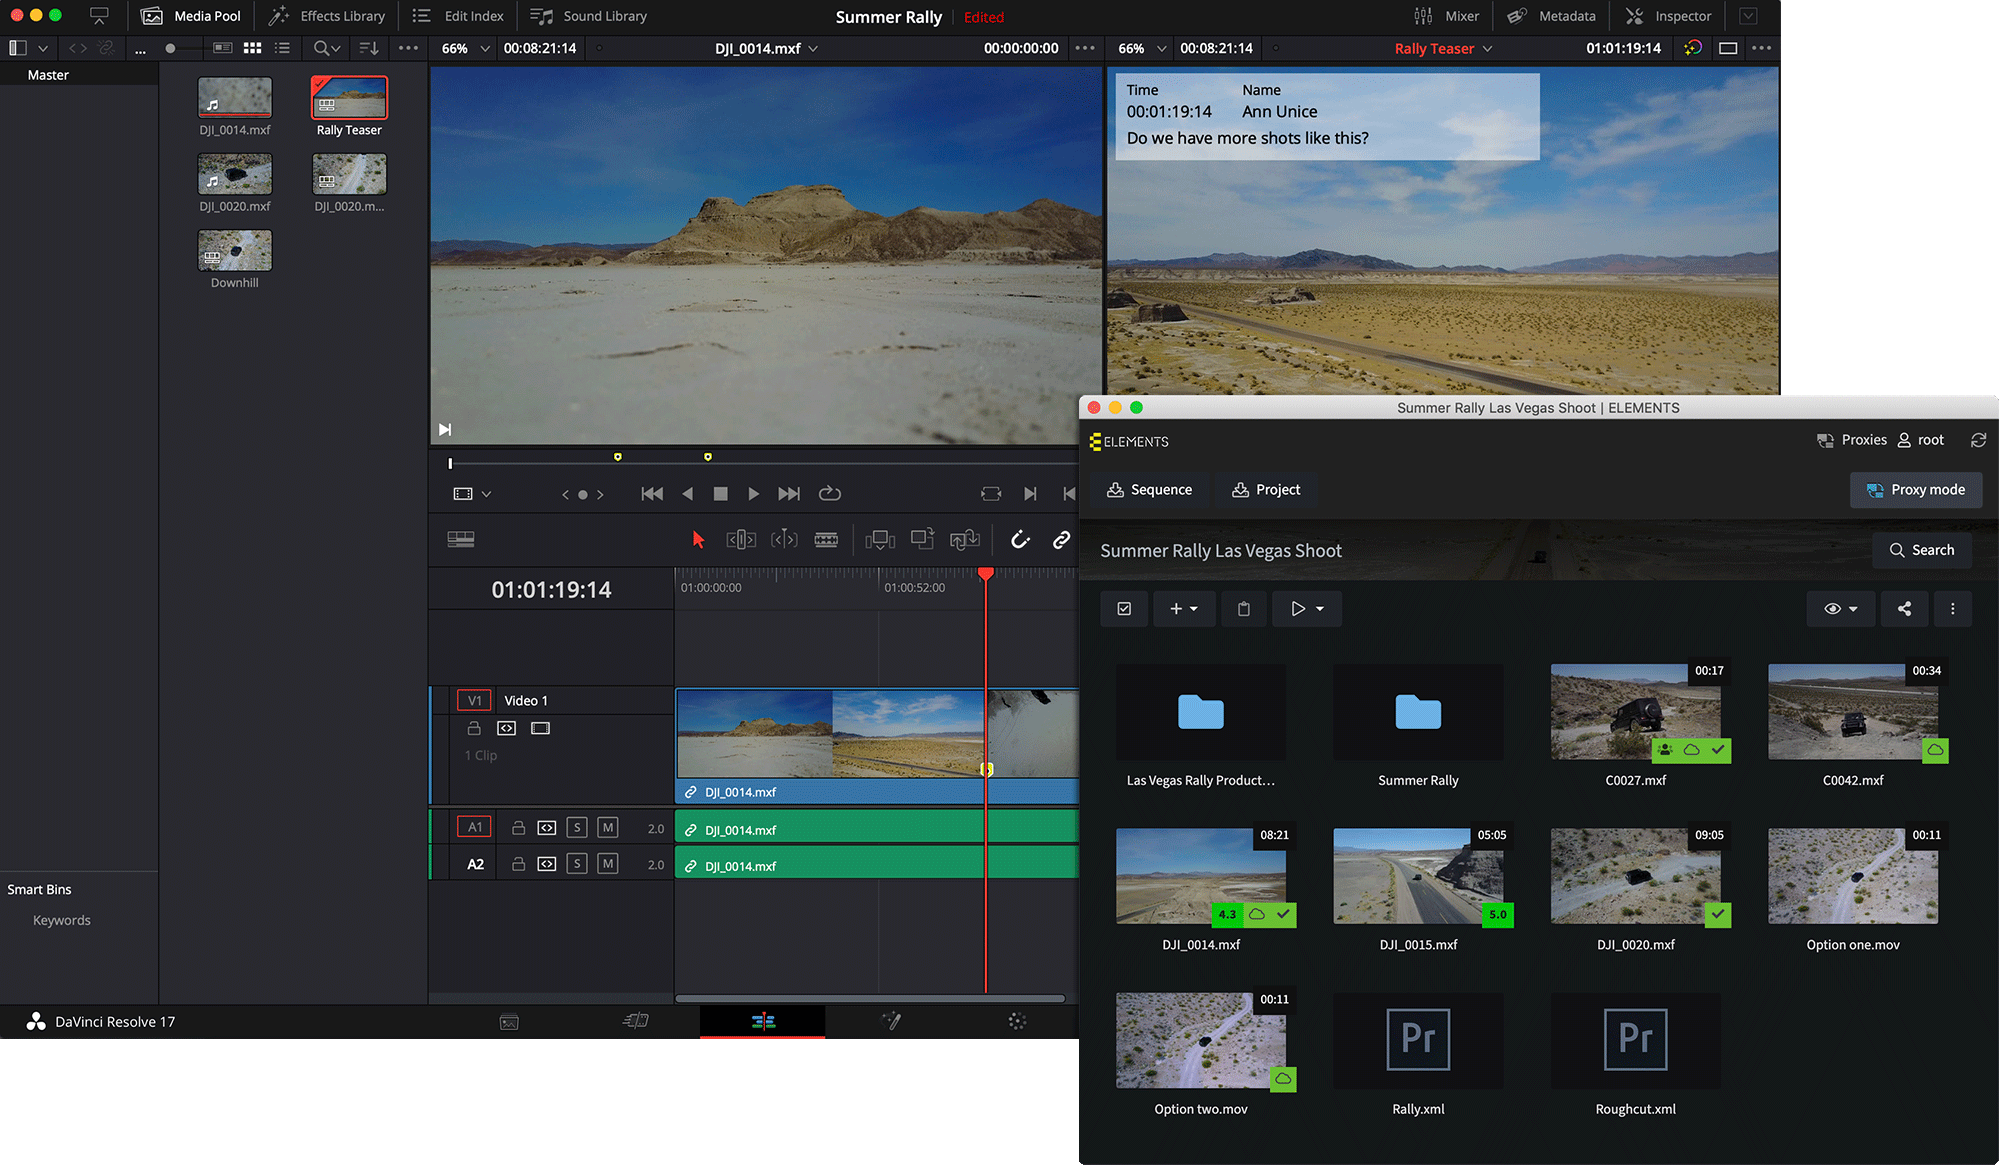
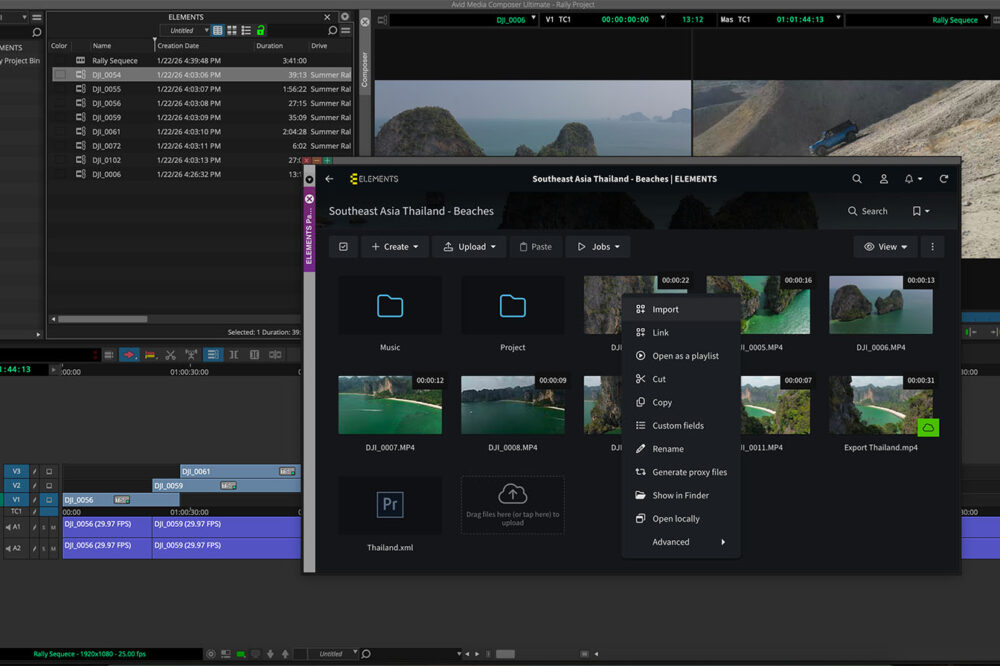
Using Media Library Proxies
The ELEMENTS Resolve Panel brings a number of extremely valuable benefits to your workflow. It allows you to access and use the Media Library without ever having to leave the NLE. Import footage or even rough-cuts with a single click, use the wide array of collaboration features and save time by reusing Media Library proxies for editing in DaVinci Resolve. Upon importing the footage, simply choose to download the proxy files of all clips used in the project or the clips used in the sequence. After the quick download has finished, you can switch between Proxy mode and the Hi-res mode with a single click of a button. This feature can save the time associated with the creation of new proxy files.